top of page
ABSTRACT 03
Cerca video...
00:34
ABSTRACT 03

00:34
ABSTRACT04

00:34
ABSTRACT07

00:34
ABSTRACT08
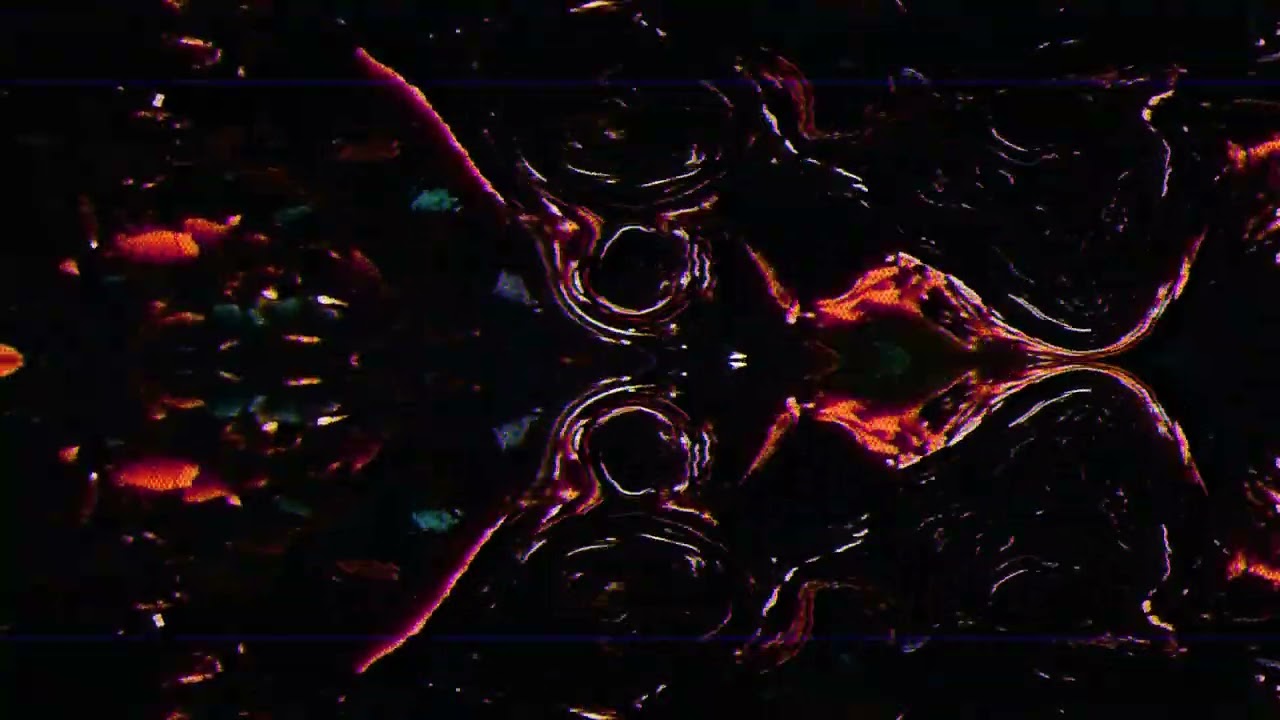
ABSTRACT LIQUID PRISM DISPLACE
L'idea nasce dalla volontà di distorgere l'immagine così tanto da trasformare la dura pietra in un liquido vischioso.
Le immagini originali (realizzate con Sony Alpha 7sII - Canon prime EF 100mm f/2,8) ritraggono dei sassi.
The idea came from the need to distort the image so heavily that it could turn the hard stone into a liquid.
The original images (taken with Sony Alpha 7sII - Canon prime EF 100mm f/2.8) depict stones.

Step 1
Original shot

Step 2
First Prism Displacemt

Step 3
Increase the prism displace A LOT
Step 1
Original shot
1/3

Step 4
Analog Tv Filter

Step 5
Adjusting the contrast

Step 6
Final color HUE
Step 4
Analog Tv Filter
1/3

Behind the Scene 1

Behind the Scene 4

Behind the Scene 3
Behind the Scene 1
1/5
bottom of page